
As an alternative to supporting climbers with chicken wire,sticks and branches it’s quite easy and enjoyable to make a net from cordage of some sort. Here I,m using jute a natural and strong fibre.

The basic example below gives a step by step guide.
1. Take a length of cordage and stretch it between two points this can be as long or as short as you like. This length determines the width of the net. In the above example it’s 7 feet wide and took about 2.5 hours.You can of course use the net the other way round when its finished if you need a tall and thin net.

2. Cut lengths of cord about 2.5 to 3 times longer than the finished height you would like. The reason for this is that the cord is doubled over and also the zig-zag pattern and knots use up length also.

3. Double over the cord and and loop it through itself to fix it to the horizontal.


4. Repeat this untill you have spaced the chords about evenly apart. The spacing determines the size of the diamonds. Below we have 4 pieces of cord from left to right 1,2,3,4.

5. Gather together the right hand side length from cord 1 and the left hand side length from cord 2. Approximate by eye where you want to tie the first knot. This should be about centred between the two nodes above. Make a knot adjusting the final possition as the ropes tighten.
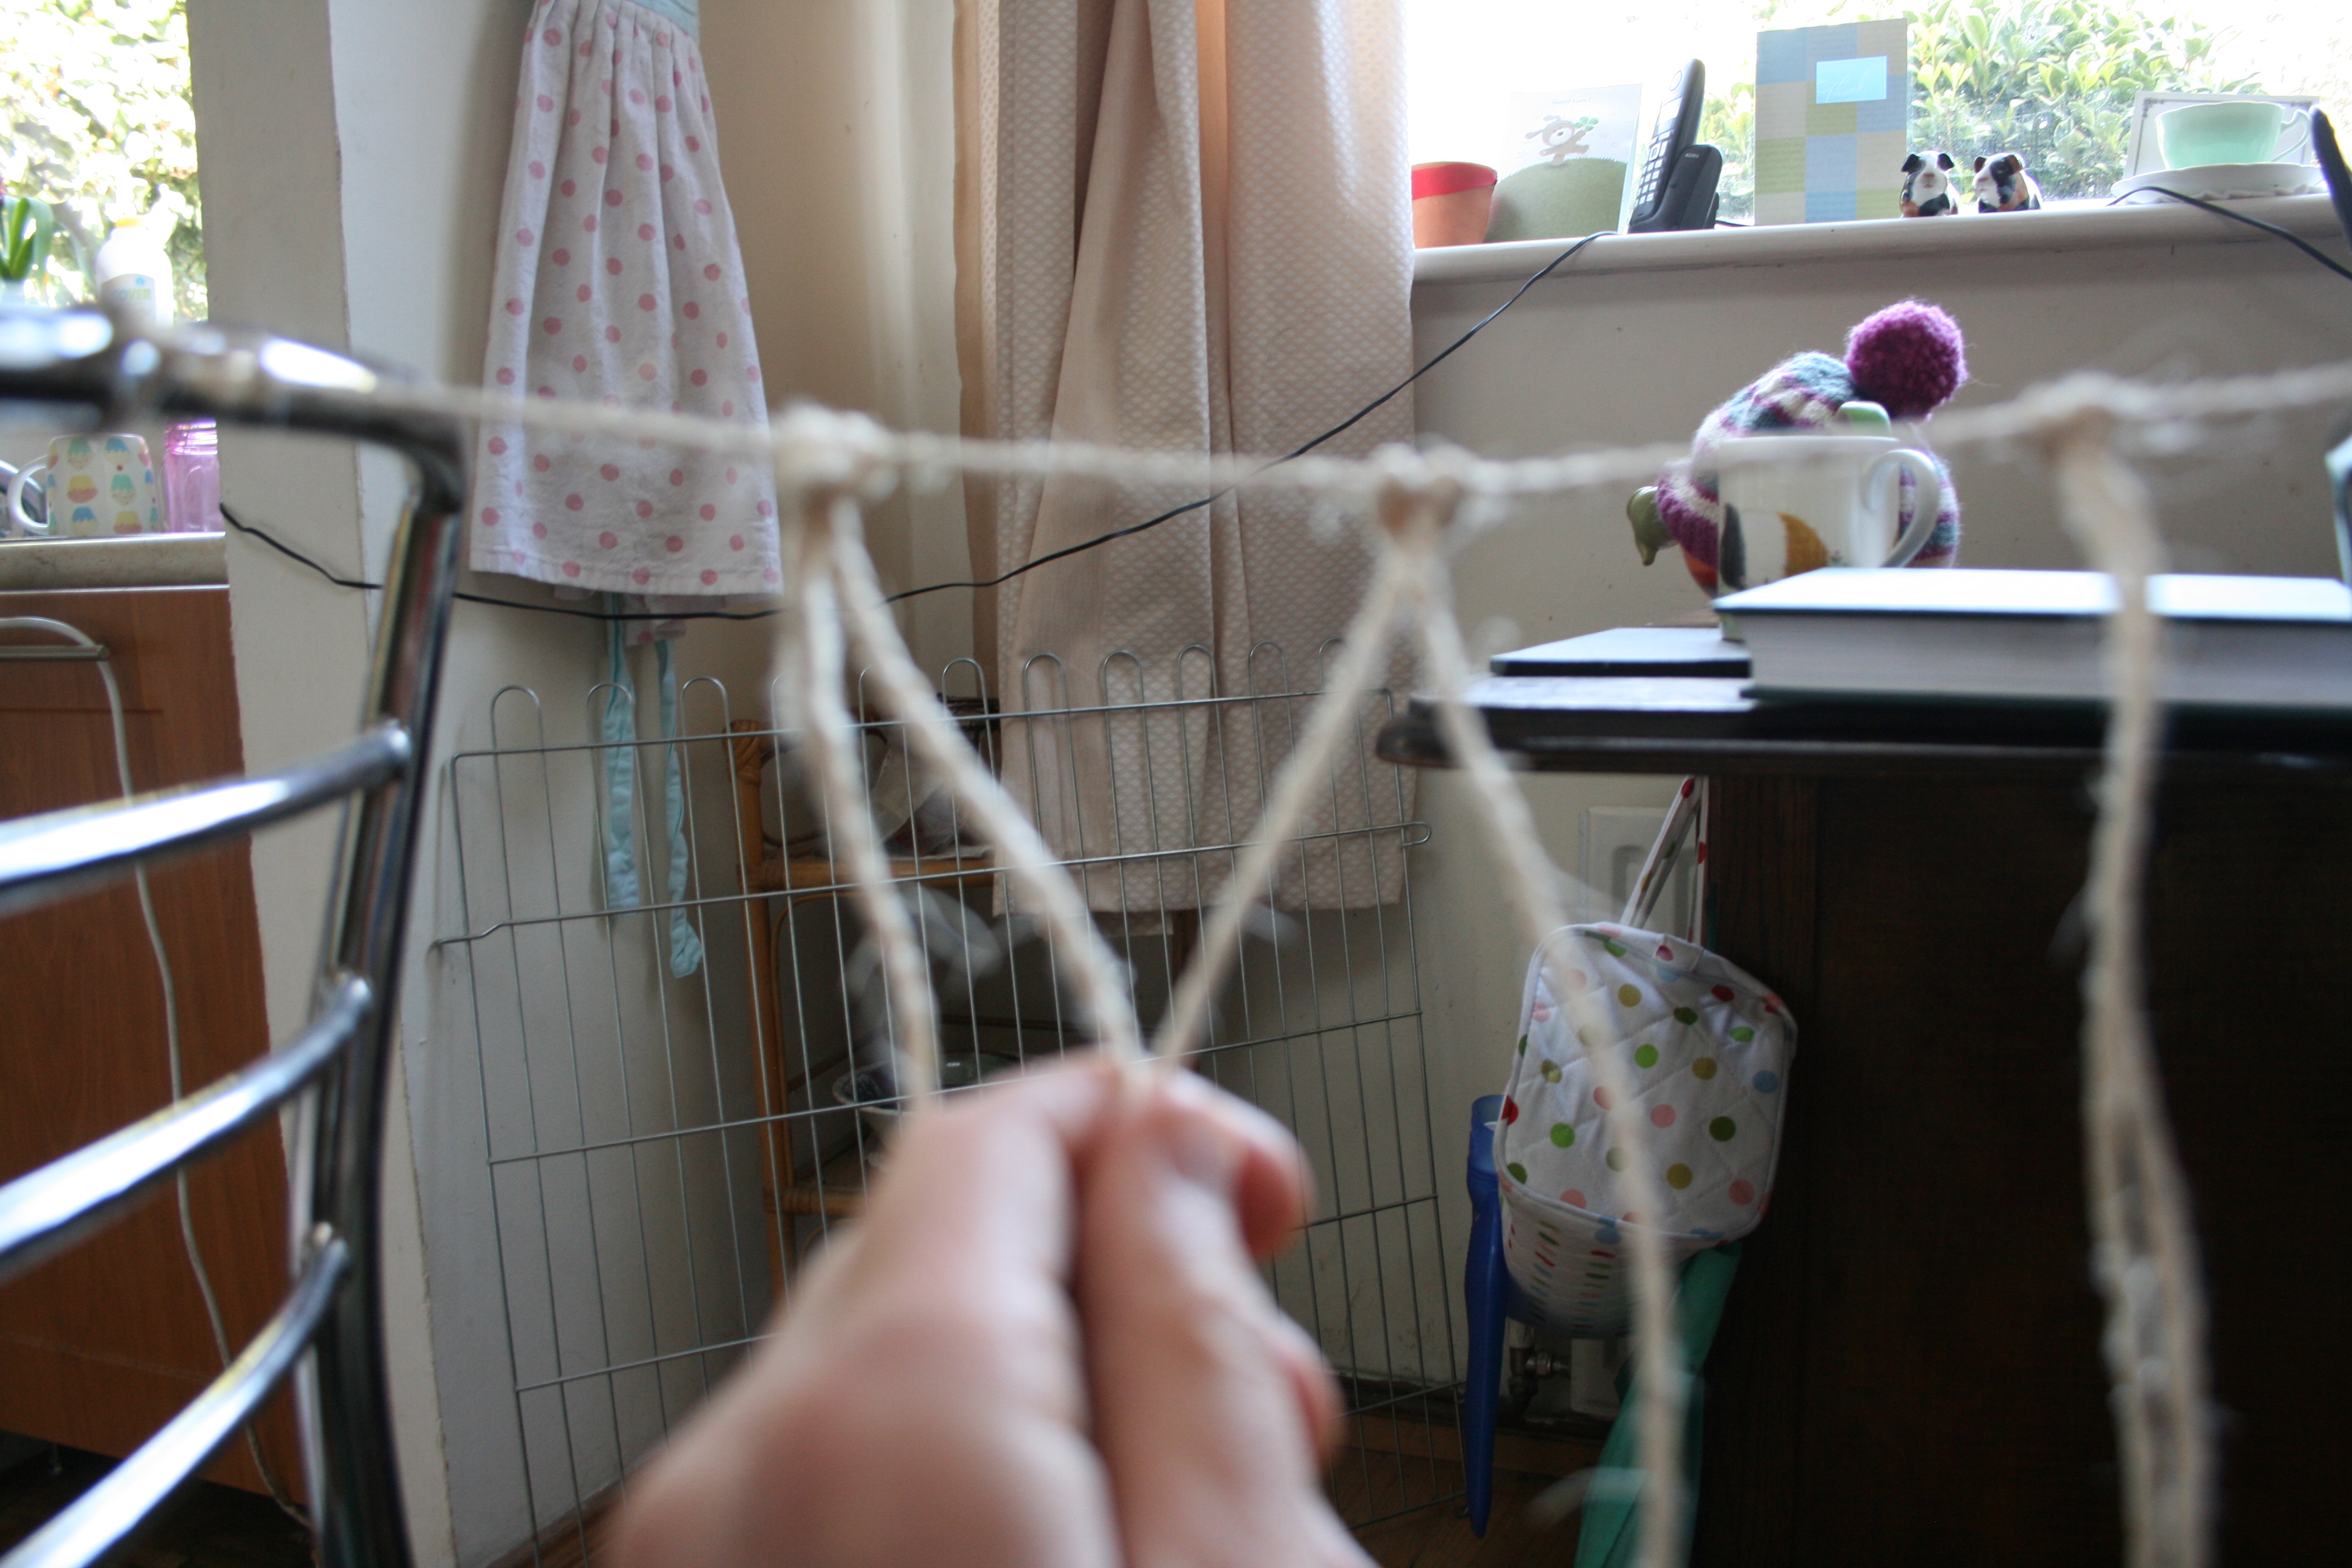

6.Now move to the right hand side of robe 2 and the left hand side of robe 3 and tie these. Continue this pattern all the way accross the ropes.

7.The ends are knotted like this.


8. Continue down the cord repeating. As you can see the outer cords have more spare length as they dont zig zag.
.

When you,ve finished untie the horizontal cord from the support and tie this around the end knot a few times. It’s not perfectly even or anything but the plants wont mind. This is a very enjoyable way to pass a few hours in the evening or if it’s lashing outside.
Other bits recently:
Put a bird feeder up near the kitchen window.

Sweetchestnuts from U.C.D. have germinated after stratifying over the winter.

The foxes got their prize in the end.


The little greenhouse jammed with seed trays and the sunflowers are coming on


Sweetcorn going well.

Yacon and courgettes starting to get potted on.

I have always had bindweed in the garden mainly in the hedges and the neighbouring gardens have lots also, it does pop up in the raised beds but it seems to stay at managable levels that can be removed by pulling or cutting to ground level. If the stems are long enough and rapped in the privet or griselinia before I get to them I just cut at the base and let them rot wrapped up in the branches. Doing this prevents the leaves from photosynthesising and over time weekens the plants.I have a bucket of water for rotting any smaller bits and other problematic weeds prior to composting. I use mulches beneath the hedge to block out the light and try to prevent flowering and setting of seed. Looking about online there does’nt seem to be any better ideas on how to deal with this plant. Other options include digging which seems futile considering the plants ability to regrow from fragments and the depth to which it grows. Probably one of the best options to prevent it’s spread is to create natural plant barriers with comfrey something Patrick Whitefield talks about when making forest gardens.

Bindweed
